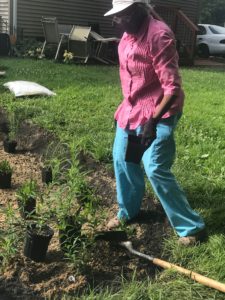
Rain Gardens
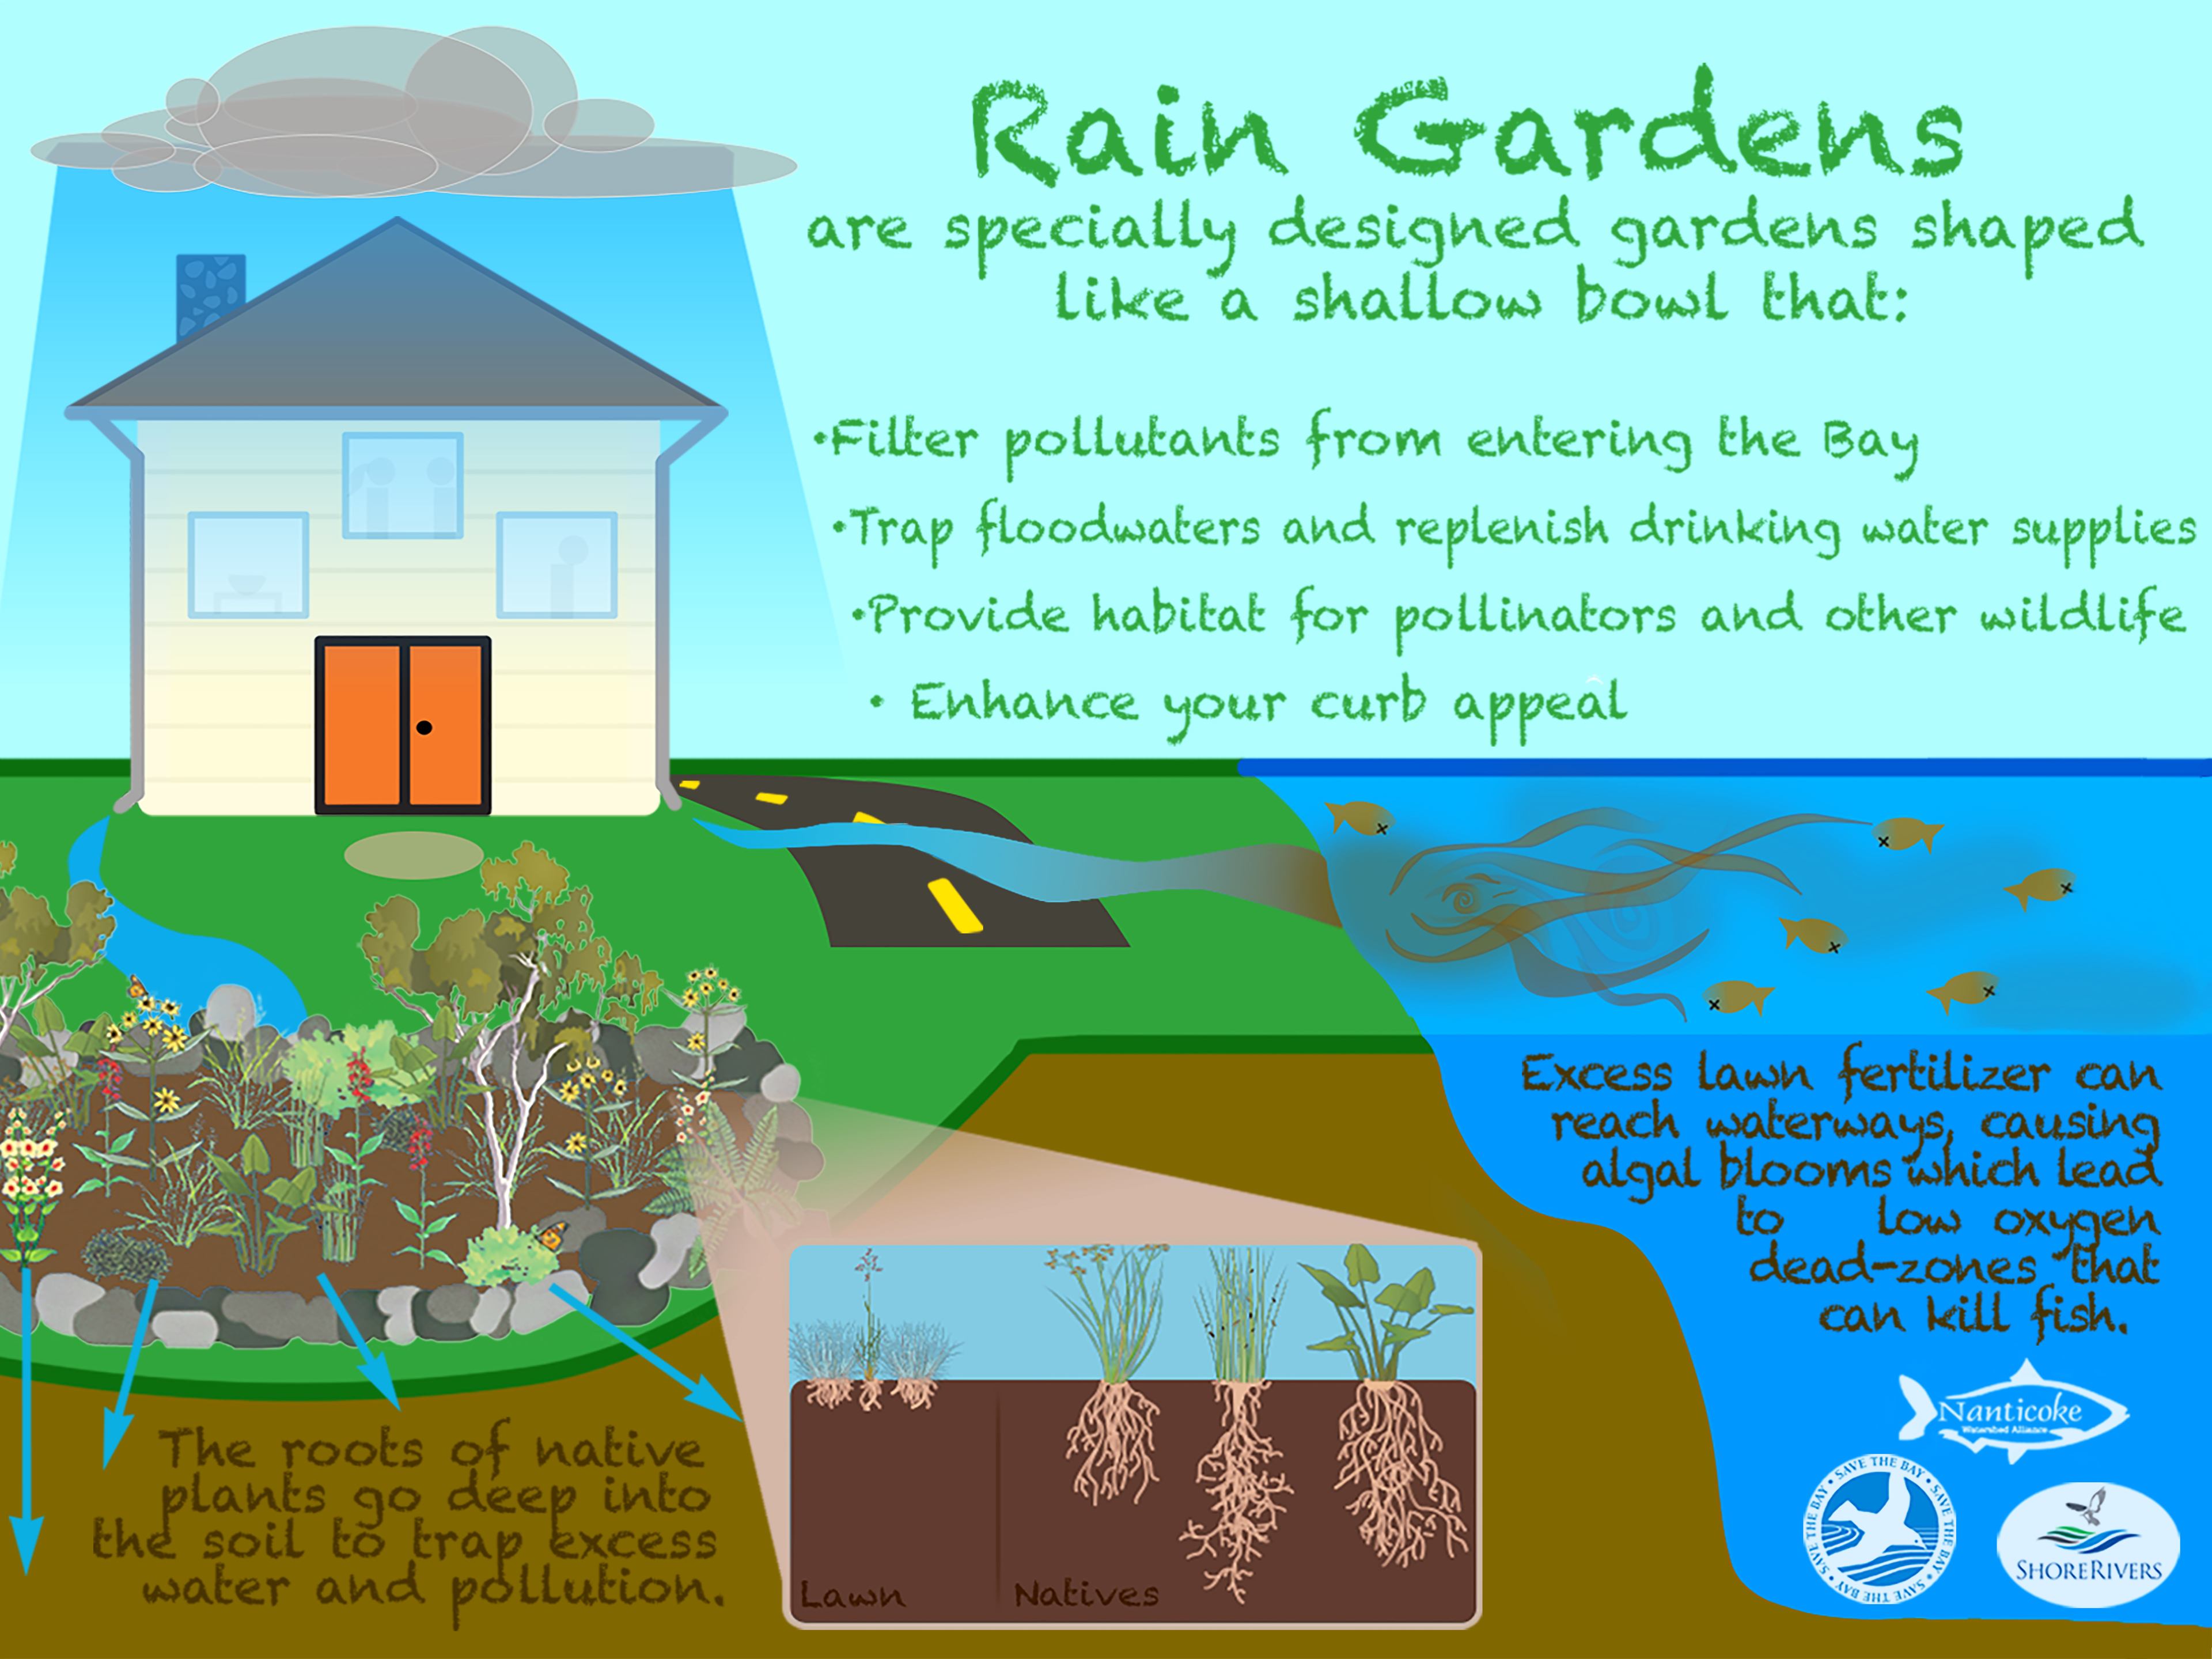
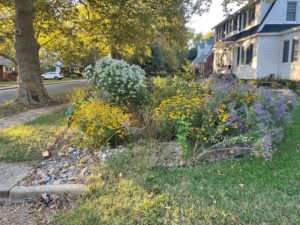
Rain Gardens are a great way to help make your yard more eco-friendly! Not only do they help reduce storm surge and flooding, but they also trap pollutants that get caught up in stormwater run-off that flows off your yard. Rain gardens are NOT water gardens or wetlands. They are dry most of the time and are only designed to hold water for 48 hours while it soaks into the ground.
Benefits | How They’re Made | Getting Started
Native Plant Guide
Benefits:
The benefits of a rain garden are numerous, but first, 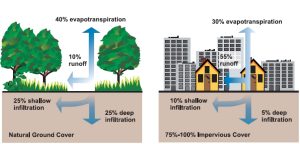 we need to start by understanding why run-off is a problem. When it rains on an impervious surface, like a roof, driveway, street or sidewalk, water cannot be absorbed, so the water flows off these surfaces while collecting pollutants. These pollutants can range from dirt, fertilizers and other lawn chemicals to motor oil, garbage, and even bacteria. These pollutants all have different effects on waterways, but one thing they all have in common is that they don’t belong in the water. This contaminated water flows to municipal storm drains and then continues, untreated, into the nearest waterway.
Polluted run-off, especially water that is contaminated with large amounts of nitrogen and phosphorus, can lead to unhealthy conditions in our waterways. For example, the excess nutrients can cause algal blooms to grow by fertilizing algae, which grow very quickly. The algae reproduce rapidly and begin to block sunlight that is needed by submerged aquatic plants to grow. The aquatic plants supply oxygen to the water through photosynthesis, but this process cannot happen if the plants are not getting enough sunlight. The submerged vegetation begins to die as algae spread across the surface of the water, reducing the amount of dissolved oxygen in the water.
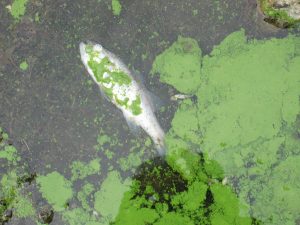 As the algae and submerged aquatic vegetation die, they begin to biodegrade with the help of decomposers. These tiny organisms need oxygen to break down the plant material, so they use up what little is left of the oxygen supply in the water, creating hypoxic zones, or areas with little to no dissolved oxygen. These areas cannot support life, and many organisms that live there will suffocate as the oxygen levels fall. Erosion can also have a similar effect, as sediment clouds the water and reduces the amount of light that can reach the bottom.
Rain gardens collect stormwater runoff and allow it to be filtered by vegetation before it soaks slowly into the soil. These processes trap pollution and sediment and help to recharge groundwater aquifers that many places use as sources of drinking water. Pollution control and flood management are two very important jobs for rain gardens, but these stormwater management techniques also offer local wildlife a place to live and find food.
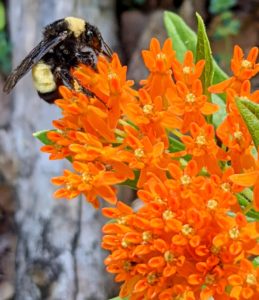
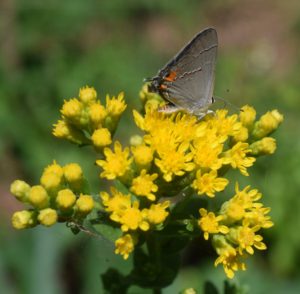
Because native plants and local wildlife from the same area co-evolved, they support each other with minimal human involvement after planting. Native plants also attract pollinators, key members of our local ecosystem that are often vulnerable without their support plants.
Colony collapse disorder is affecting bees across the world and there is no clear reason why populations are declining so quickly. When about 1/3 of our food comes from plants pollinated by bees, this is an issue that will affect everyone. One of the best ways that you can help support these important insects is by planting native plants and wildflowers. A particularly important way to support bees, butterflies and other pollinators is to plant flowers that offer them food in early spring. Many insects, like bumblebees, have been hibernating since autumn. As the weather warms, these insects become more active and need plenty of food and energy. Plants that flower in early spring can be critical for the survival of hungry pollinators who have not had much to eat in a while.
Your rain garden will not only help reduce flooding and pollution, but it will also beautify your yard while helping to support the health of our local ecosystems.
Did you know: Your dog can have an impact on the health of our waterways! Dog poop that is not picked up can wash out of yards and into storm drains that lead directly to the nearest waterway. This waste adds excess nutrients to the water that can lead to unhealthy algal blooms
How They’re Made:
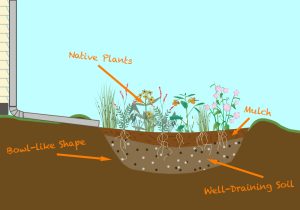
Rain Gardens are characterized by their bowl-shaped construction, soil composition, and native plant selection.
Bowl-Like Shape
These gardens are shaped like a bowl so that they can temporarily trap and soak in excess rainwater during storms. They are usually positioned at the end of a natural slope so that water flowing off of your yard will easily end up collecting in the small depression. This slows down floodwaters than can cause erosion. Water that has collected in this area will slowly be returned to the soil, recharging groundwater supplies which can be used for drinking water. Rain gardens are especially important near impervious surfaces like driveways and sidewalks because these surfaces allow water to flow quickly, picking up pollutants and causing more storm surge downriver.
Soil composition
Rain gardens are designed with water in mind. The soils selected for these gardens is fast draining and can be supported by layers of gravel and sand, which act as underground reservoirs that hold water as it slowly soaks into the soil. It is important to make sure that the soil can drain well because standing water can act as a breeding ground for pests. When prepping a site for rain garden installation, a soil test should be done to see if a large portion of the soil should be removed and replaced with better draining soil. The footprint of a typical rain garden goes much deeper than normal gardens to allow for more water to collect in the basin.
Plant Selection
Native plants are beautiful and offer habitat for many local critters, including important pollinators. Native plants are used in rain gardens because they have co-evolved with the local environment, meaning they are much hardier and require less maintenance than non-native plants. The roots of native plants, which grow much deeper than typical turf grass, help to break up tough soils, creating places for water to infiltrate into the soil. These strong root systems also help hold soils and prevent erosion. Erosion can be a problem on both land and water as topsoil washes away creating cloudy waterways that don’t support as much life as clean water.
Getting Started:
For a more complete look at creating your own rain garden click here.
What you’ll need:
-
Spade
-
Wheelbarrow
-
Triple-cut Hardwood Mulch
-
River Rocks
-
Native Plants and Grasses
-
Sand and compost (optional)
-
PVC Pipe (optional)
-
Gravel (optional)
Planning:
Building your own rain garden should not be a daunting task, but it will require some planning. The first thing that must be considered is the site location and how much rain this garden will need to hold. You should place the rain garden at least 10 feet from your house, but not in a septic drainage area. A good place for rain gardens is near a downspout. Also, consider that there will be lots of water soaking into the ground, so don’t choose an area that is already soggy or prone to flooding, as this soil is already saturated and won’t hold much more water. You can test the drainage of your soil by digging a small hole, filling it with water and seeing how fast it drains.
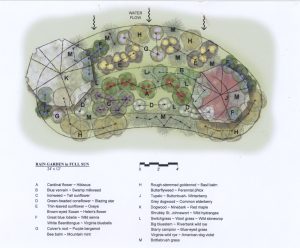
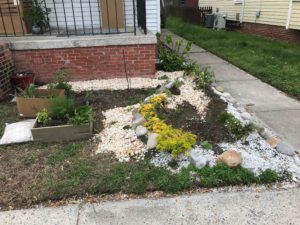 Once you have selected a site you should start thinking about how you want your rain garden to look. Keep in mind the slope of your yard and the amount of water you’ll need to be able to hold during rain events. Usually, the ideal size for a rain garden is a bit smaller than you might expect, especially with well-draining, sandy soil. This site has an easy-to-use calculator to help you figure out the dimensions of your rain garden. While designing your rain garden remember that the center and deepest part will be much more water-logged than the perimeter, so plant selection should be based on the tolerance of the plant. You don’t want to plant a native shrub that can’t tolerate saturated ground in the middle and wettest part of the rain garden. Once you’ve devised a plan for how the rain garden will be shaped and how deep it needs to be, it’s time to break ground.
Construction:
Before you start digging always make sure to call 811 to find out if there are any underground utilities that you need to be aware of. Once you have found a good site (well-draining and at the bottom of a slope) prepare it by removing the grass and digging deep enough to hold the amount of water that you normally receive with each rainfall event. While excavating the site, be sure to create a berm to help hold in the water during heavier than normal rain events. Ideal berms are 2 feet wide and the bottom and 1 foot wide at the top. The whole rain garden should not be surrounded by a berm, but low-laying sides need to be built up with a retainer berm that is about six inches higher than the water level when the rain garden is full. You can use the excess soil you have from excavating to build up these walls.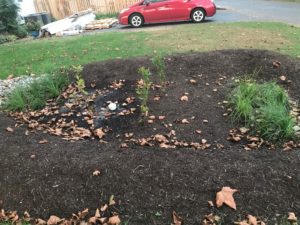
Once the basin has been made for the rain garden, it’s time to connect it to the water source (downspout). This may not be necessary for all rain gardens, as some are built with the natural slope of the land to collect water as it flows down a yard, but erosion still must be considered in both cases. Connect the downspout to the rain garden using PVC pipe if there is a large area to span, or create a path lined with river rocks that prevent erosion. The PVC pipe should extend about a foot into the rain garden and be surrounded by river rocks to prevent erosion. Once the connector has been put in place you can start filling in the basin with a proper soil. With sandy soils, like what is found on the eastern shore, you may be able to fill in the rain garden with the excavated soil. If your drainage test turned out less than satisfactory, you may have to create a mixture of sand, compost, and soil. A good mixture for well-draining soil is 60% original soil and 40% compost, however, if you have dense soil, you may need to try using 60 percent sand and 40% compost. DO NOT FILL THE BASIN ENTERLY! Remember that rain gardens are shaped like a bowl, which means that there should be a depression in the ground to help collect flowing water.
Planting:
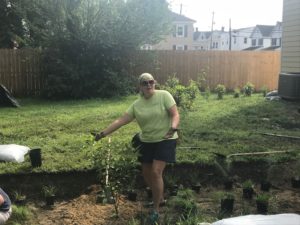
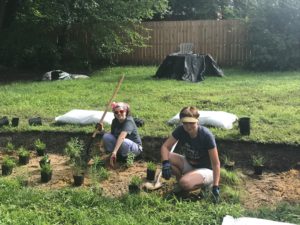
You’re almost finished at this point! Now it’s time to start filling in the rain garden with all the beautiful and pollinator-friendly native plants you have picked out. Make sure you don’t forget to group your plants into zones according to how well they can tolerate “wet feet”. Plants that can’t tolerate saturated soils should be planted around the outside while plants that thrive in wet environments should be planted in the center of the garden. Get creative with your plant selection and placement but do remember that the plants need room to grow, so make sure to leave them enough space so they aren’t competing with the other plants.
~
~
~
Below are some additional resources that can be used to find and purchase native plants:
Adkins Arboretum: a link to the arboretum’s nursery, which sells native plants.
US Fish and Wildlife Service: locations of native plant nurseries in the Chesapeake Bay watershed.
Native Plants in MD, VA, WV: a resource to find native plant nurseries in Maryland.
Native Plants in DE, NJ, NY: a resource to find native plant nurseries in Delaware.
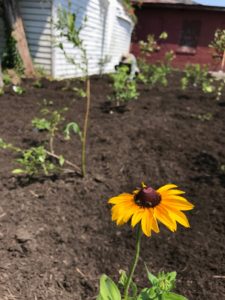
Once all your plants are in the ground you need to mulch around them. Use only a triple-cut hardwood mulch, as this mulch won’t float and get washed away with the first rain event. The mulch helps retain moisture in the soil, which is very important in the first few years of your rain garden as your native plants establish themselves. When you spread the mulch try to make sure that you have a layer that is about 3 inches thick. Mulch depth should be checked annually. Once you have finished mulching, wipe the sweat from your brow, take a step back, and revel in the beauty of your new pollution-preventing, popular-with-pollinators, minimal-maintenance garden!
Maintenance:
Your rain garden will need to be tended to for the next two years while the native plants establish themselves. The care you provide for these plants should include weekly watering, necessary weeding and the occasional pruning of the plants. This routine should not include fertilizer, as the compost that has been mixed into the soil will provide enough nutrients for the plants to flourish. Contact the business from which you bought the plants if you have any specific questions about plant care and maintenance.

Do you have a ditch on your property? Looking for more projects to beautify your home and attract birds butterflies and other pollinators?
Be sure to check out our Designer Ditches web page to learn how to make your ditch fancier while reducing pollution and erosion.
